How to Make the Cards
This page describes how to create the cards for some of my board/card games, in case you want to try playing them yourself. These instructions only apply for games for which I have included a PDF file that contains the cards in a 3x3 grid on each page. In all other cases, you'll either need to use a different method entirely, or you could use an application like Nandeck or CardMaker to create a similar PDF file and then use this process with that PDF file.
Materials
For each card you want to make, you will need a card sleeve and a card. For card sleeves I used poker-sized card sleeves that are opaque on one side and clear on the other. I would recommend getting multiple different colors of card sleeves so that you can use different colors for different decks. This will make it easier to tell the different decks apart from each other.
For cards I use some blank poker-sized cards that I bought online a few years ago. You just need the cards to make your resulting sleeved cards more solid so that they are easier to hold, draw, and shuffle. The cards themselves can be blank or have anything else on them since you're going to put the printed poker card-sized pieces of paper in front of them.
Tools
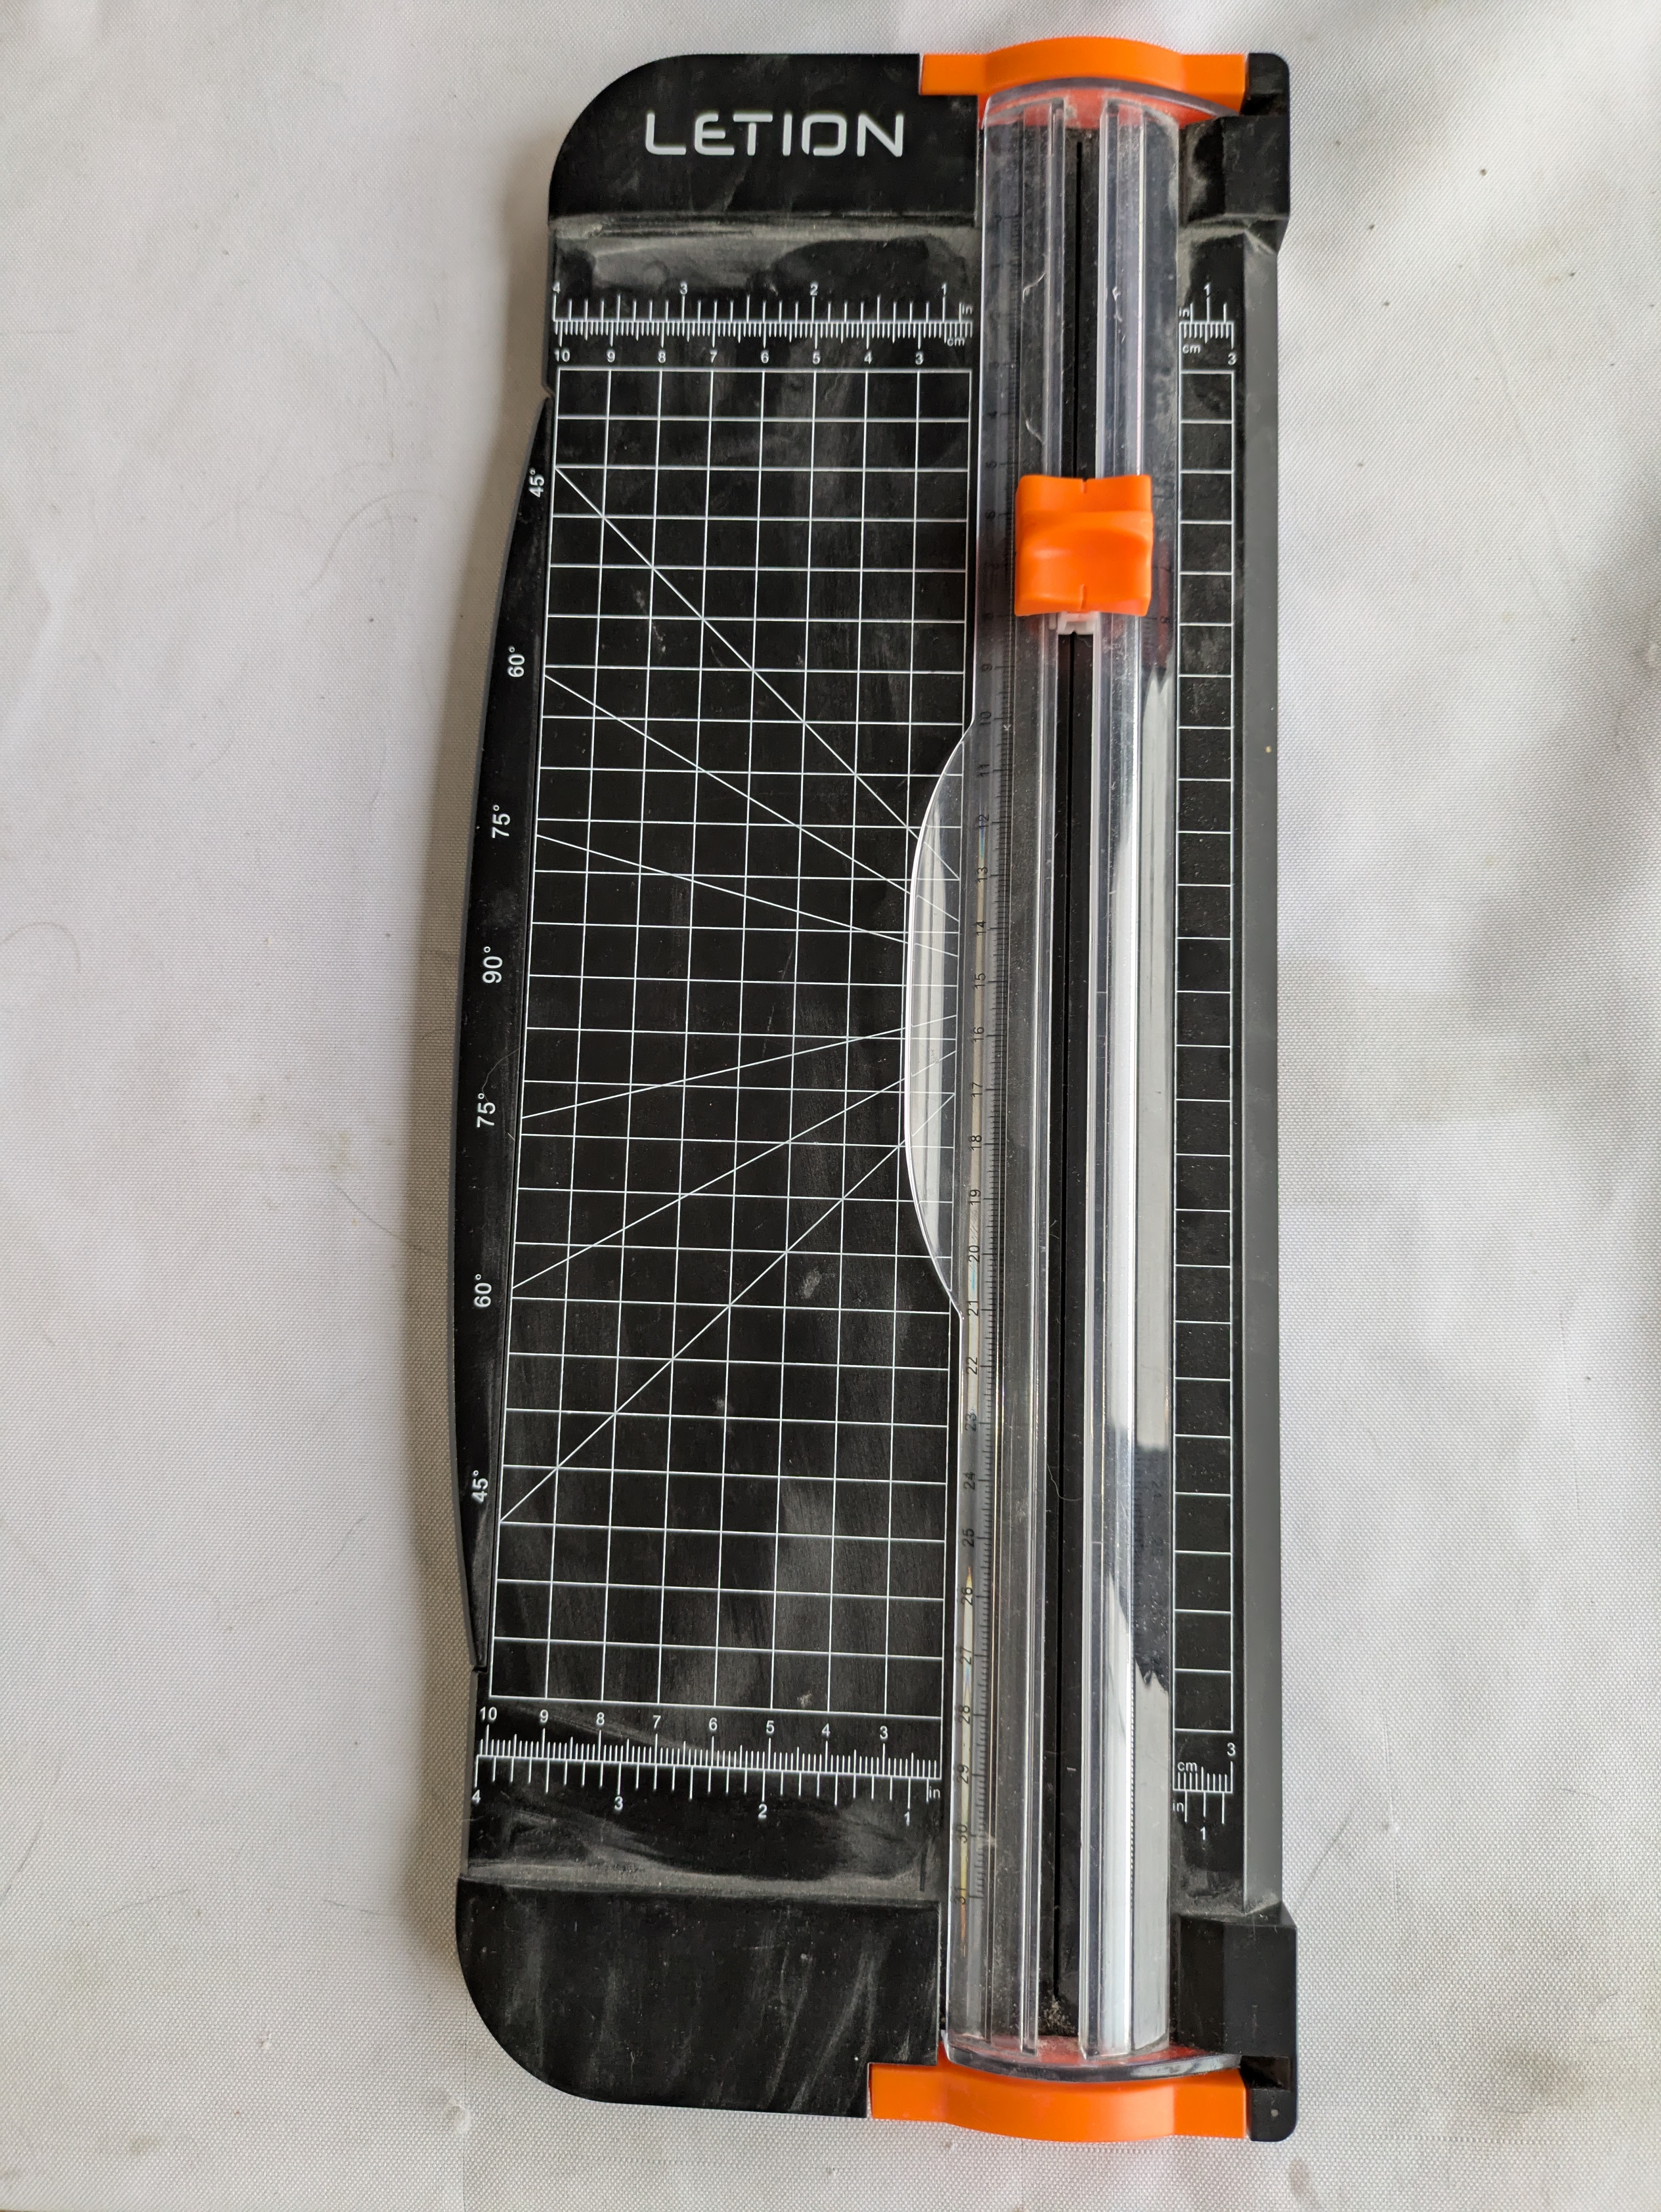
- Paper cutter: You could use plain scissors for this, but it will go faster if you use an actual paper cutter. I have included an image of the one I use below.
- Printer (w/ paper)
Step 1: Print the Cards
Use your printer to print the PDF file. You can use normal printing paper. I would recommend scaling by about 95% when printing because it will make each card-sized piece of paper a little smaller and easier to fit into the card sleeves later.
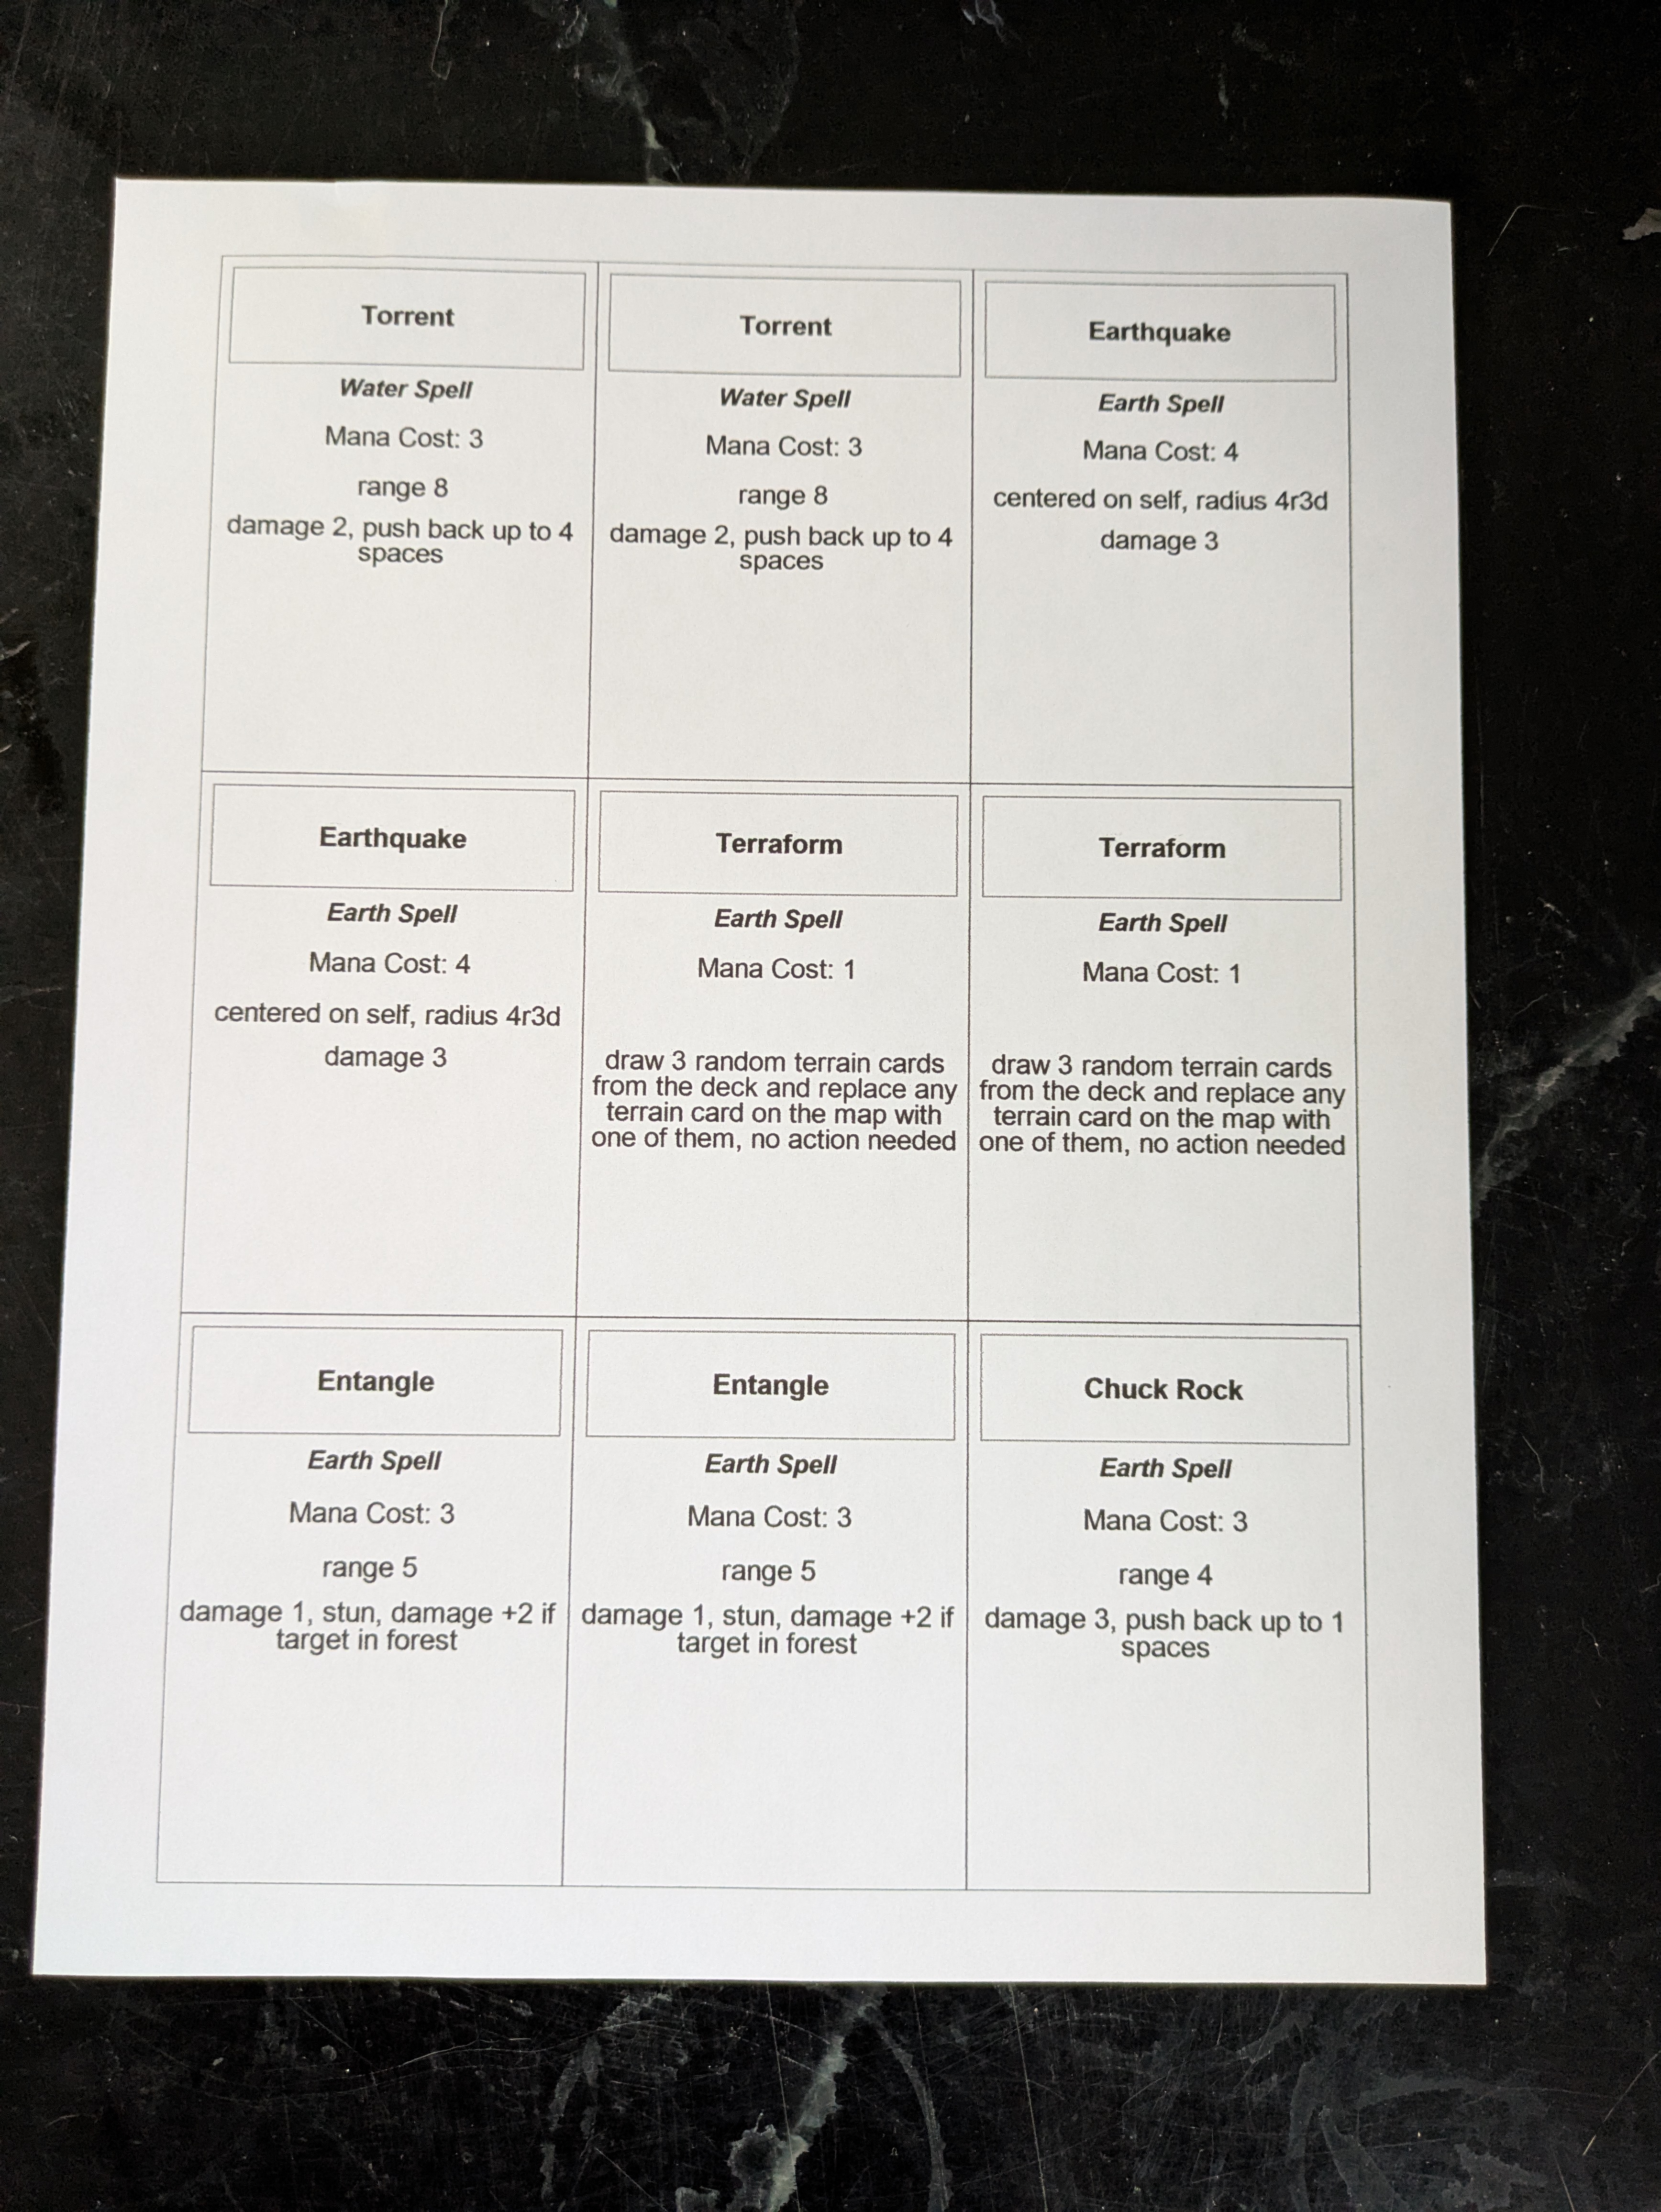
Step 2: Chop the Paper
You will now have all the cards printed in a 3x3 grid on each piece of paper, but we need to chop the paper up so that each card is on its own poker card-sized piece of paper. You can use scissors for this, but I would recommend using a paper cutter like the one shown here instead if you plan on doing it very frequently, because it will make the process much faster. It's also a good idea to pile multiple sheets of paper together and chop all of them at once. The paper cutter I use can handle 4 or 5 sheets at once.
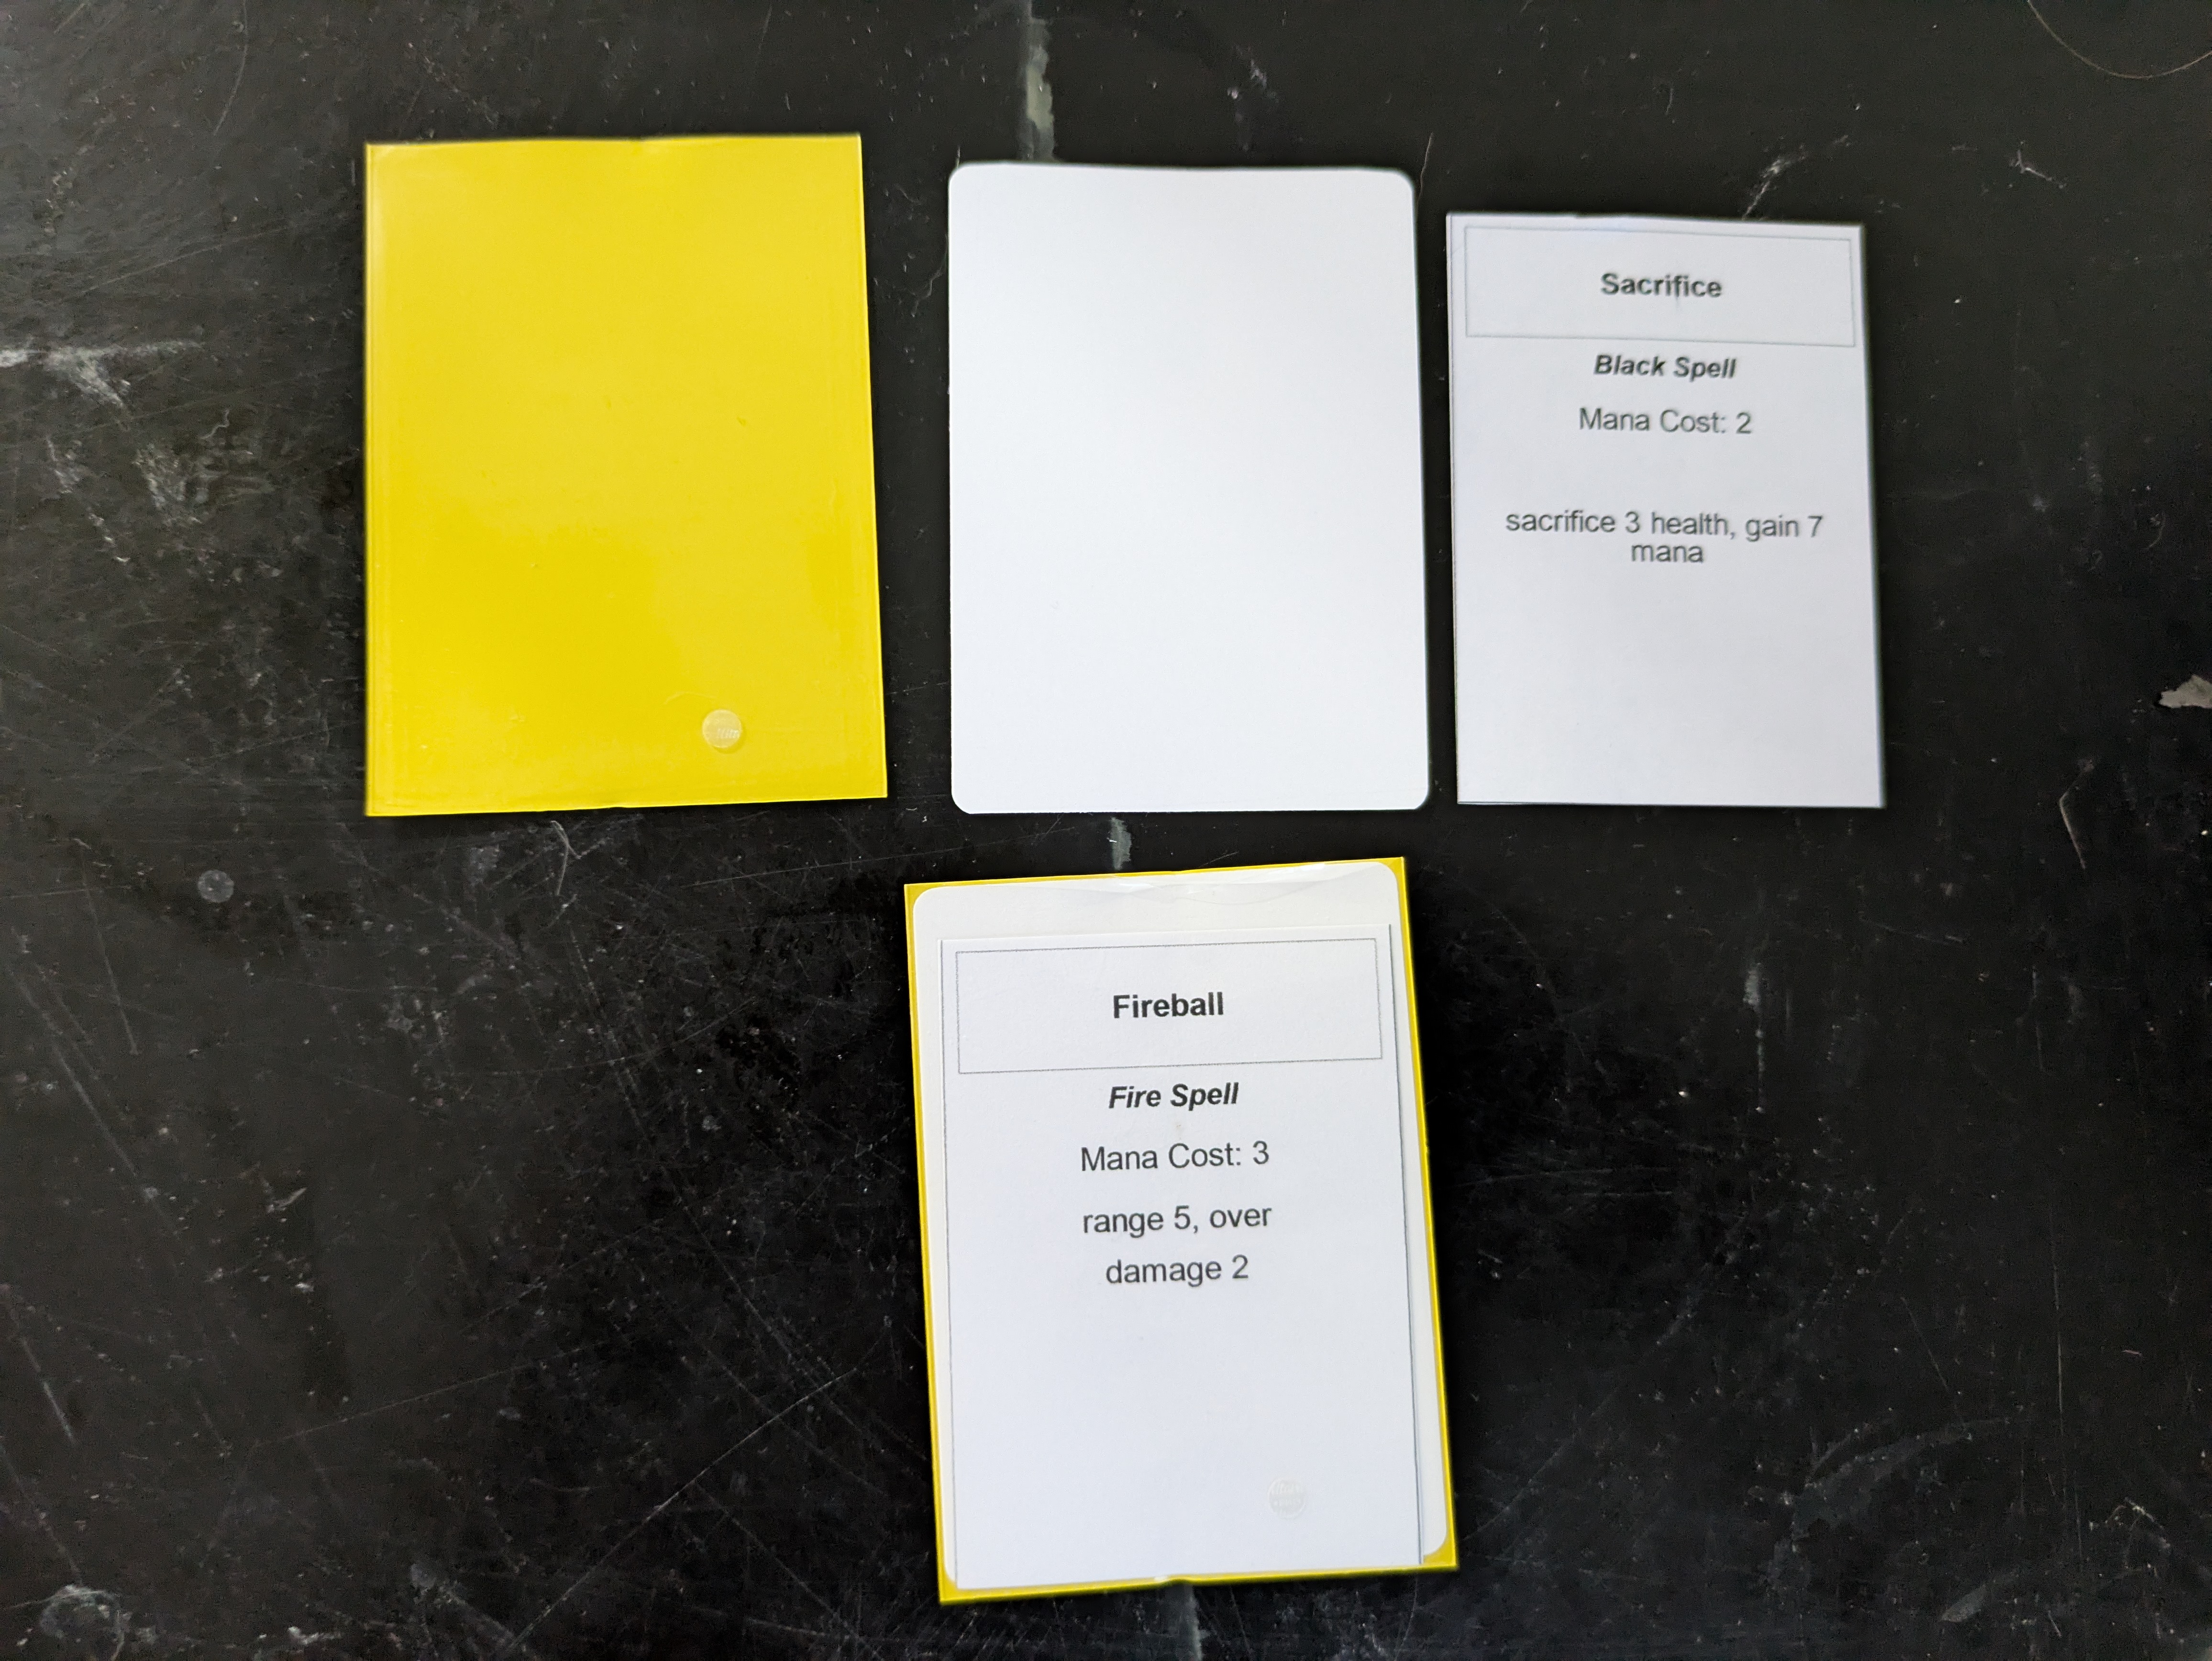
Step 3: Sleeving
Next you will need to put each poker-sized piece of paper with the contents of a single card printed on it into a card sleeve along with a card. It's a good idea to use different-colored card sleeves (if you have them) for the different decks, so you can more easily tell them apart when the cards are face-down.
Results
You should now have the sleeved cards ready for playing the game, each with the card content on the piece of paper in front of the backing card and both the piece of paper and the backing card inside the card sleeve.